
LSTM in JAX & Flax (Complete example with code and notebook)


LSTMs are a class of neural networks used to solve sequence problems such as time series and natural language processing. The LSTMs maintain some internal state that is useful in solving these problems. LSTMs apply for loops to iterate over each time step. We can use functions from JAX and Flax instead of writing these for loops from scratch. In this article, we will build a natural language processing model using LSTMs in Flax.
If this is your first interaction with JAX, then I recommend that you first go through our JAX introductory tutorials:
- What is JAX?
- Elegy(High-level API for deep learning in JAX & Flax)
- Flax vs. TensorFlow
- How to load datasets in JAX using TensorFlow.
- Optimizers in JAX and Flax.
- Building Convolutional Neural Networks in JAX and Flax.
- Distributed training in JAX.
- Jax loss functions.
- Using TensorBoard in JAX and Flax.
Let's get started.
Dataset download
We'll use the movie review dataset from Kaggle. We download the dataset using Kaggle's Python package.
import os
#Obtain from https://www.kaggle.com/username/account
os.environ["KAGGLE_USERNAME"]="KAGGLE_USERNAME"
os.environ["KAGGLE_KEY"]="KAGGLE_KEY"
import kaggle
kaggle datasets download lakshmi25npathi/imdb-dataset-of-50k-movie-reviews
Next, extract the dataset.
import zipfile
with zipfile.ZipFile('imdb-dataset-of-50k-movie-reviews.zip', 'r') as zip_ref:
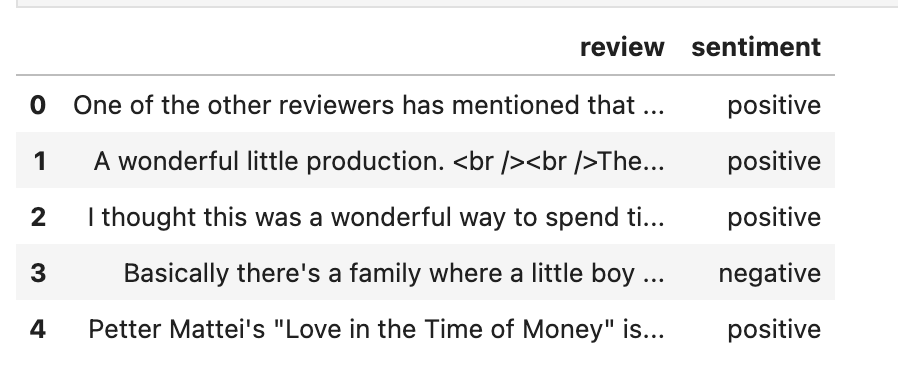
zip_ref.extractall('imdb-dataset-of-50k-movie-reviews')Load the dataset using Pandas and display a sample of the reviews.
df = pd.read_csv("imdb-dataset-of-50k-movie-reviews/IMDB Dataset.csv")
df.head()
Data processing with NLTK
The dataset contains unnecessary characters for predicting whether a movie review is negative or positive. For instance, punctuation marks and special characters. We, therefore, remove these from the reviews.
We also need to convert the sentiment column into a numerical representation. This is achieved using LabelEncoder from Scikit-learn. Let's import that together with other packages we'll use throughout this article.
import numpy as np
import pandas as pd
from numpy import array
import tensorflow as tf
from sklearn.model_selection import train_test_split
from sklearn.preprocessing import LabelEncoder
import matplotlib.pyplot as plt
The reviews also contain words that are not useful in the sentiment prediction. These are common words in English, such as the, at, and, etc. These words are known as stopwords. We remove them with the help of the nltk library. Let's start by defining a function to remove all the English stopwords.
# pip install nltk
import nltk
from nltk.corpus import stopwords
nltk.download('stopwords')
def remove_stop_words(review):
    review_minus_sw = []
    stop_words = stopwords.words('english')
    review = review.split()
    cleaned_review = [review_minus_sw.append(word) for word in review if word not in stop_words]
    cleaned_review = ' '.join(review_minus_sw)
    return cleaned_review
Apply the function to the sentiment column.
df['review'] = df['review'].apply(remove_stop_words)
Let's also convert the sentiment column to numerical representation.
labelencoder = LabelEncoder()
df = df.assign(sentiment = labelencoder.fit_transform(df["sentiment"]))
Compare the reviews with the review with and without the stop words.
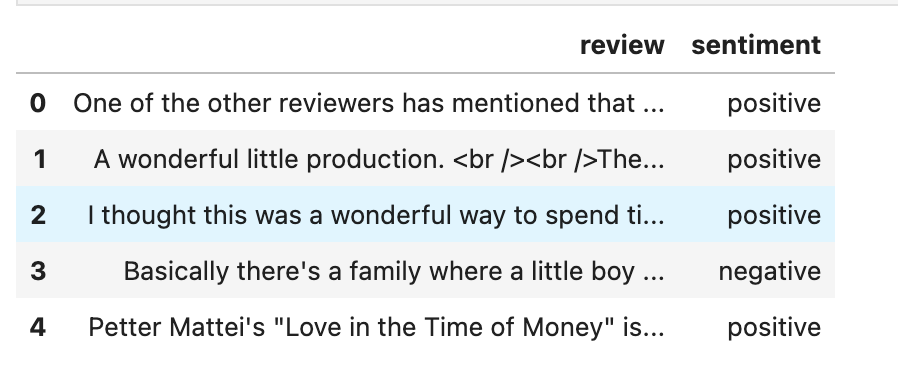
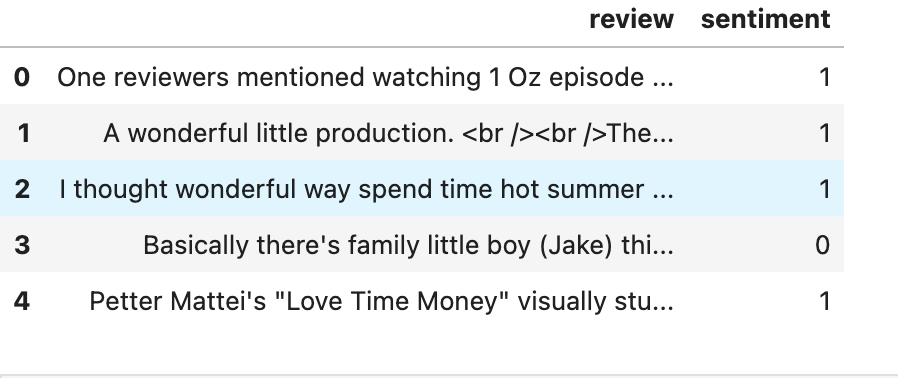
Looking at the third review, we notice that the words this, was and a have been dropped from the sentence. However, we can still see some special characters, such as <br> in the review. Let's resolve that next.
Text vectorization with Keras
The review data is still in text form. However, we need to convert it to a numeric representation like the sentiment column. Before we do that, let's split the dataset into a training and testing set.
from sklearn.model_selection import train_test_split
df = df.drop_duplicates()
docs = df['review']
labels = array(df['sentiment'])
X_train, X_test , y_train, y_test = train_test_split(docs, labels , test_size = 0.20, random_state=0)
We use the Keras text vectorization layer to convert the reviews to integer form. This function lets us filter out all punctuation marks and convert the reviews to lowercase. We pass the following parameters:
standardizeaslower_and_strip_punctuationto convert to lowercase and remove punctuation marks.output_modetointto get the result as integers.tf_idfwould apply the TF-IDF algorithm.output_sequence_lengthas 50 to get sentences of that length. Change this number to see how it affects the model's performance. I found 50 to five some good results. Sentences longer than the specified length will be truncated, while shorter ones will be padded with zeros.-
max_tokensas 10,000 to have a vocabulary size of that number. Tweak this number and check how the model's performance changes.
After defining the vectorization layer, we apply it to the training data. This is done by calling the adapt function. The function computes the vocabulary from the provided dataset. The vocabulary will be truncated tomax_tokens, if that is provided.
import tensorflow as tf
max_features = 10000  # Maximum vocab size.
batch_size = 128
max_len = 50 # Sequence length to pad the outputs to.
vectorize_layer = tf.keras.layers.TextVectorization(standardize='lower_and_strip_punctuation',max_tokens=max_features,output_mode='int',output_sequence_length=max_len)
vectorize_layer.adapt(X_train)
To view the generated vocabulary, call the get_vocabulary function.
vectorize_layer.get_vocabulary()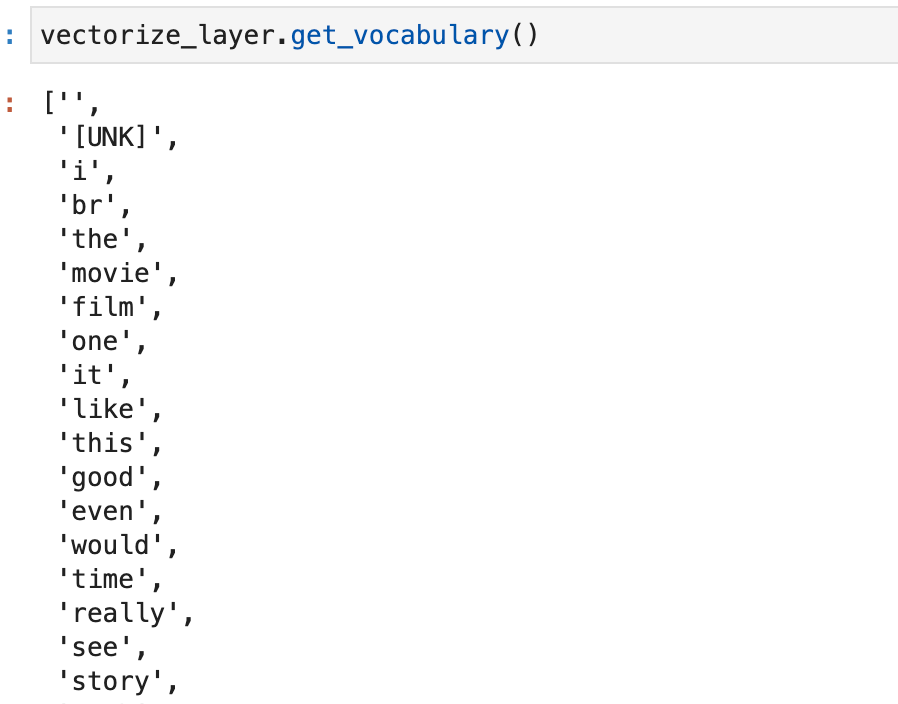
Convert the training and test data to numerical form using the trained vectorization layer.
X_train_padded =  vectorize_layer(X_train)
X_test_padded =  vectorize_layer(X_test)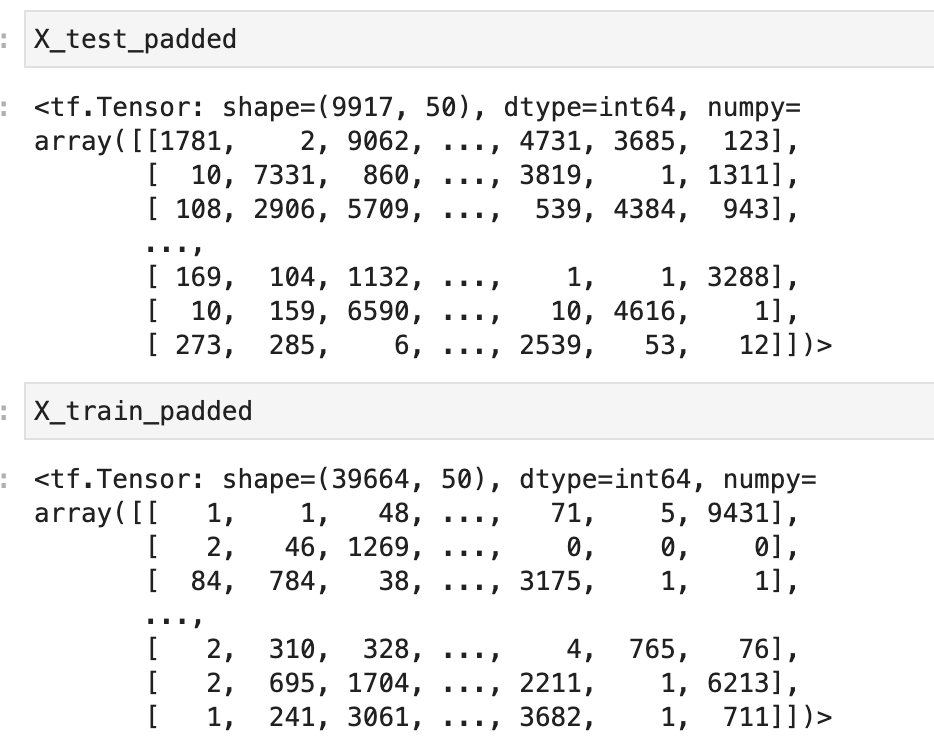
Create tf.data dataset
Let's generate and prefetch batches from the training and test set to make loading them to the LSTM model more efficient. We start by creating a tf.data.Dataset.
training_data = tf.data.Dataset.from_tensor_slices((X_train_padded, y_train))
validation_data = tf.data.Dataset.from_tensor_slices((X_test_padded, y_test))
training_data = training_data.batch(batch_size)
validation_data = validation_data.batch(batch_size)
Read: Loading datasets in JAX using TensorFlow.
Next, we prefetch one batch, shuffle the data and return it as a NumPy array.
# pip install tensorflow_datasets
import tensorflow_datasets as tfds
def get_train_batches():
  ds = training_data.prefetch(1)
  ds = ds.shuffle(3, reshuffle_each_iteration=True)
  # tfds.dataset_as_numpy converts the tf.data.Dataset into an iterable of NumPy arrays
  return tfds.as_numpy(ds)
Define LSTM model in Flax
We are now ready to define the LSTM model in Flax. To design LSTMs in Flax, we use the LSTMCell or the OptimizedLSTMCell. The OptimizedLSTMCell is the efficient LSTMCell. The LSTMCell.initialize_carry function is used to initialize the hidden state of the LSTM cell. It expects:
- A random number.
- The batch dimensions.
- The number of units.
Let's use the setup method to define the LSTM model. The LSTM contains the following layers:
- An Embedding layer with the same number of features and length as defined in the vectorization layer.
- LSTM layers that pass data in one direction as specified by the
reverseargument. - A couple of Dense layers.
- Final dense output layer.
from flax import linen as nn

class LSTMModel(nn.Module):
    def setup(self):
        self.embedding = nn.Embed(max_features, max_len)
        lstm_layer = nn.scan(nn.OptimizedLSTMCell,
                               variable_broadcast="params",
                               split_rngs={"params": False},
                               in_axes=1,
                               out_axes=1,
                               length=max_len,
                               reverse=False)
        self.lstm1 = lstm_layer()
        self.dense1 = nn.Dense(256)
        self.lstm2 = lstm_layer()
        self.dense2 = nn.Dense(128)
        self.lstm3 = lstm_layer()
        self.dense3 = nn.Dense(64)
        self.dense4 = nn.Dense(2)

    @nn.remat
    def __call__(self, x_batch):
        x = self.embedding(x_batch)

        carry, hidden = nn.OptimizedLSTMCell.initialize_carry(jax.random.PRNGKey(0), batch_dims=(len(x_batch),), size=128)
        (carry, hidden), x = self.lstm1((carry, hidden), x)

        x = self.dense1(x)
        x = nn.relu(x)

        carry, hidden = nn.OptimizedLSTMCell.initialize_carry(jax.random.PRNGKey(0), batch_dims=(len(x_batch),), size=64)
        (carry, hidden), x = self.lstm2((carry, hidden), x)

        x = self.dense2(x)
        x = nn.relu(x)

        carry, hidden = nn.OptimizedLSTMCell.initialize_carry(jax.random.PRNGKey(0), batch_dims=(len(x_batch),), size=32)
        (carry, hidden), x = self.lstm3((carry, hidden), x)


        x = self.dense3(x)
        x = nn.relu(x)
        x = self.dense4(x[:, -1])
        return nn.log_softmax(x)
We apply the scan function to iterate over the data. It expects:
scanthe items to be looped over. They must be the same size and will be stacked along the scan axis.carrya carried value that is updated at each iteration. The value must be the same shape anddtypethroughout the iteration.broadcasta value that is closed over by the loop<axis:int>axis along which to scan.-
split_rngsto define if to split the random number generator at each step.

The nn.remat call saves memory when using LSTMs to compute long sequences.
Compute metrics in Flax
Next, we define a function to compute the loss and accuracy of the network.
import optax
import jax.numpy as jnp
def compute_metrics(logits, labels):
  loss = jnp.mean(optax.softmax_cross_entropy(logits, jax.nn.one_hot(labels, num_classes=2)))
  accuracy = jnp.mean(jnp.argmax(logits, -1) == labels)
  metrics = {
      'loss': loss,
      'accuracy': accuracy
  }
  return metrics
Read more: JAX loss functions.
Create training state
The training state applies gradients and updates the parameters and optimizer state. Flax provides train_state for this purpose. We define a function that:
- Creates an instance of the
LSTMModel. - Initializes the model to obtain the
paramsby passing a sample of the training data. - Returns the created state after applying the Adam optimizer.
from flax.training import train_state

def create_train_state(rng):
  """Creates initial `TrainState`."""
  model = LSTMModel()
  params = model.init(rng, jnp.array(X_train_padded[0]))['params']
  tx = optax.adam(0.001,0.9,0.999,1e-07)
  return train_state.TrainState.create(
      apply_fn=model.apply, params=params, tx=tx)
Define training step
The training function does the following:
- Compute the loss and logits from the model with the apply method.
- Compute the gradients using
value_and_grad. - Use the gradients to update the model parameters.
- Compute the metrics using the function defined earlier.
- Returns the
stateand metrics.
Applying @jax.jit makes the function run faster.
@jax.jit
def train_step(state, text, labels):
  def loss_fn(params):
    logits = LSTMModel().apply({'params': params}, text)
    loss = jnp.mean(optax.softmax_cross_entropy(
        logits=logits,
        labels=jax.nn.one_hot(labels, num_classes=2)))
    return loss, logits
  grad_fn = jax.value_and_grad(loss_fn, has_aux=True)
  (_, logits), grads = grad_fn(state.params)
  state = state.apply_gradients(grads=grads)
  metrics = compute_metrics(logits, labels)
  return state, metrics
Evaluate the Flax model
The eval_step evaluates the model's performance on the test set using Module.apply. It returns the loss and accuracy on the testing set.
The evaluate_model function applies the eval_step , obtains the metrics from the device and returns them as a jax.tree_map.
@jax.jit
def eval_step(state, text, labels):
logits = LSTMModel().apply({'params': state.params}, text)
return compute_metrics(logits=logits, labels=labels)
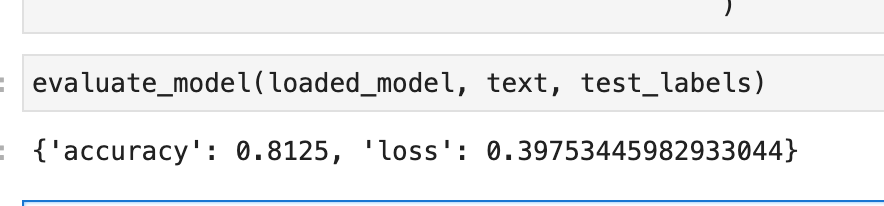
def evaluate_model(state, text, test_lbls):
"""Evaluate on the validation set."""
metrics = eval_step(state, text, test_lbls)
metrics = jax.device_get(metrics)
metrics = jax.tree_map(lambda x: x.item(), metrics)
return metrics
Create training function
Next, define a function that trains the Flax LSTM model on one epoch. The function applies train_step to each batch in the training data. After each batch, it appends the metrics to a list.
def train_one_epoch(state):
    """Train for 1 epoch on the training set."""
    batch_metrics = []
    for text, labels in get_train_batches():
        state, metrics = train_step(state, text, labels)
        batch_metrics.append(metrics)

    batch_metrics_np = jax.device_get(batch_metrics)
    epoch_metrics_np = {
        k: np.mean([metrics[k] for metrics in batch_metrics_np])
        for k in batch_metrics_np[0]
    }

    return state, epoch_metrics_np
The function obtains the metrics from the device and computes the mean from all the trained batches. This gives the loss and accuracy for one epoch.
Train LSTM model in Flax
To train the LSTM model, we run the train_one_epoch function for several iterations. Next, apply the evaluate_model to obtain the test metrics for each epoch. Before training starts, we create a create_train_state to hold the training information. The function initializes the model parameters and the optimizer. This information is stored in the training state dataclass.
rng = jax.random.PRNGKey(0)
rng, input_rng, init_rng = jax.random.split(rng,num=3)
seed = 0
state = create_train_state(init_rng)
del init_rng # Must not be used anymore.
num_epochs = 30
(text, test_labels) = next(iter(validation_data))
text = jnp.array(text)
test_labels = jnp.array(test_labels)
training_loss = []
training_accuracy = []
testing_loss = []
testing_accuracy = []
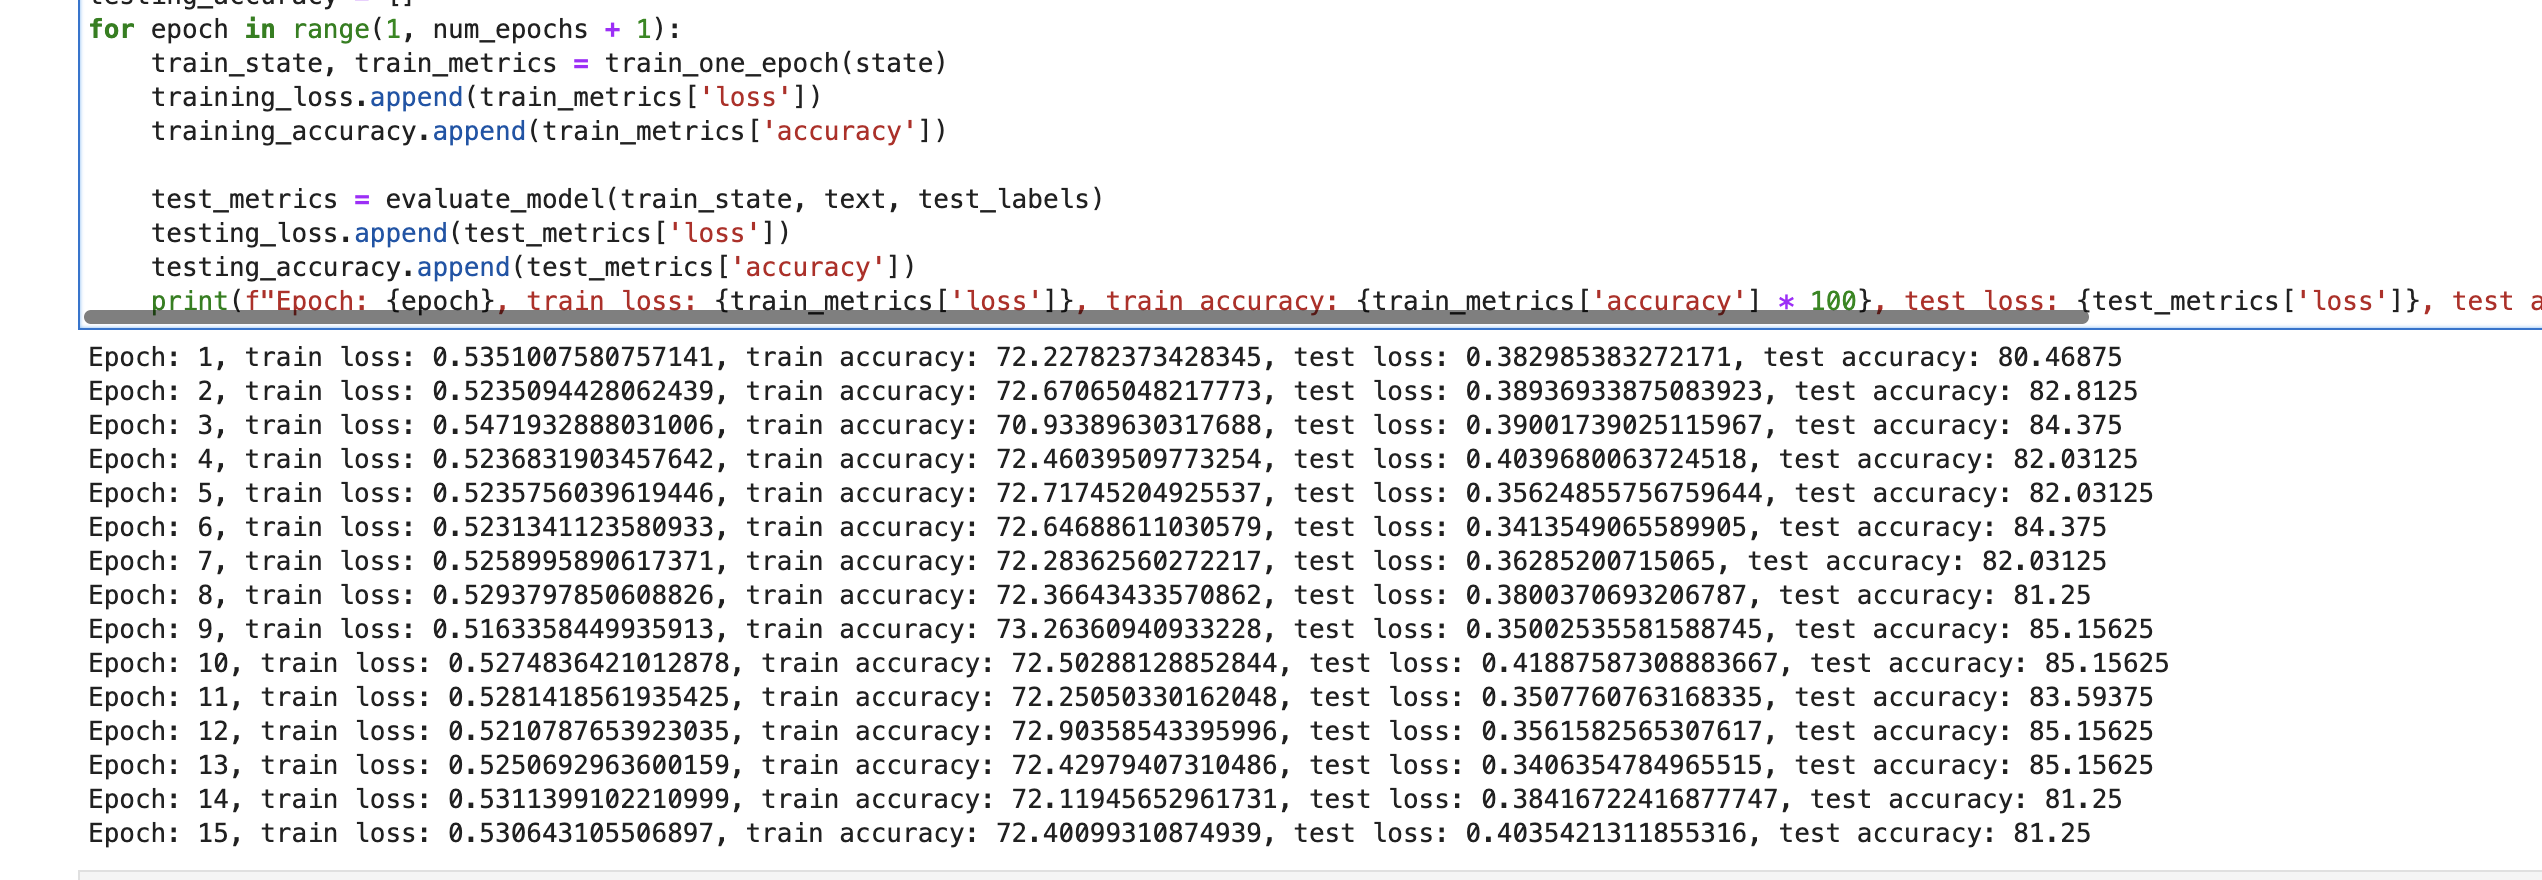
def train_model():
for epoch in range(1, num_epochs + 1):
train_state, train_metrics = train_one_epoch(state)
training_loss.append(train_metrics['loss'])
training_accuracy.append(train_metrics['accuracy'])
test_metrics = evaluate_model(train_state, text, test_labels)
testing_loss.append(test_metrics['loss'])
testing_accuracy.append(test_metrics['accuracy'])
print(f"Epoch: {epoch}, train loss: {train_metrics['loss']}, train accuracy: {train_metrics['accuracy'] * 100}, test loss: {test_metrics['loss']}, test accuracy: {test_metrics['accuracy'] * 100}")
return train_state
trained_model_state = train_model()After each epoch, we print the metrics and append them to a list.
Read more: TensorFlow Recurrent Neural Networks (Complete guide with examples and code)
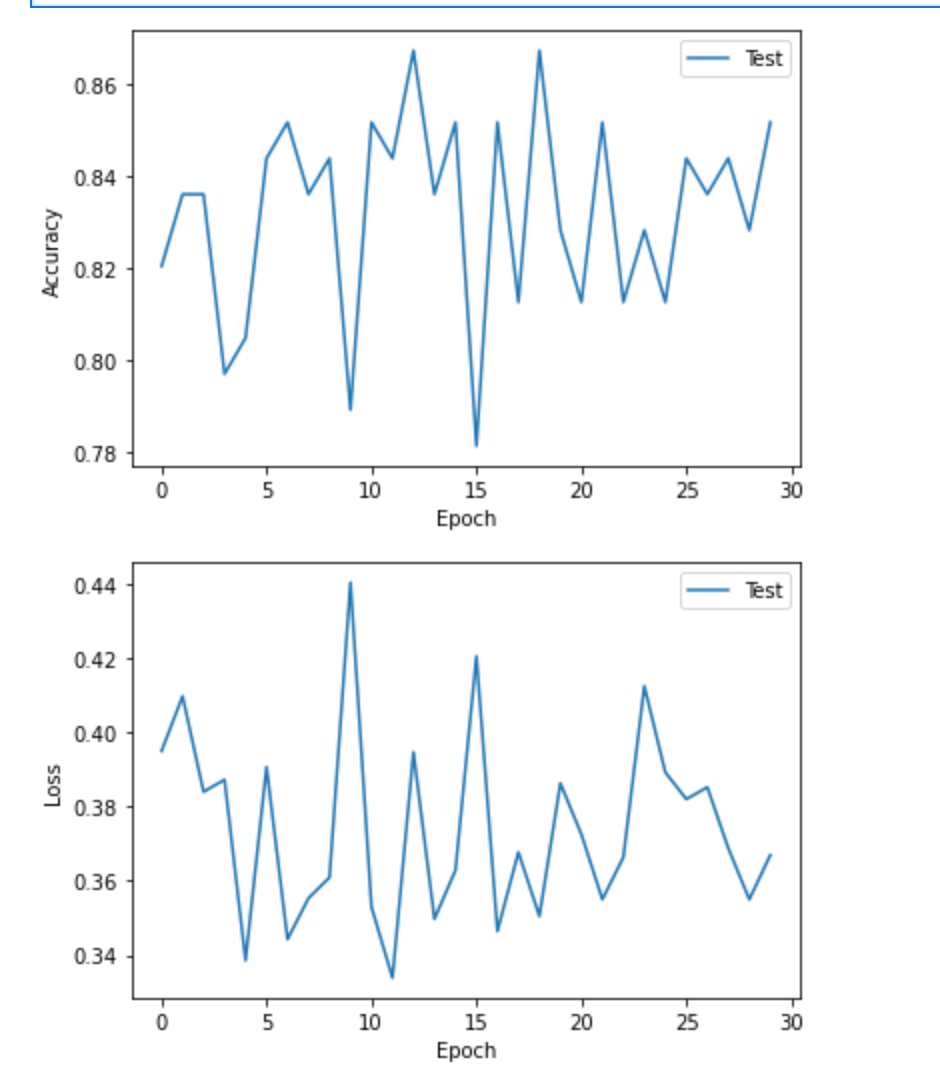
Visualize LSTM model performance in Flax
You can then use Matplotlib to visualize the metrics appended to the list. The training is not quite smooth, but you can tweak the architecture of the network, the length of each review, and the vocabulary size to improve performance.
Save LSTM model
To save a Flax model checkpoint, use the save_checkpoint method. It expects:
- The directory to save the checkpoint files.
- The Flax object to be saved, that is,
target. - The prefix of the checkpoint file name.
- Whether to overwrite previous checkpoints
from flax.training import checkpoints
checkpoints.save_checkpoint(ckpt_dir='lstm_model_checkpoint/',
                            target=trained_model_state,
                            step=100,
                            prefix='lstm_model',
                            overwrite=False
                           )
To restore the saved model, use restore_checkpoint method.
loaded_model = checkpoints.restore_checkpoint(
                                             ckpt_dir='lstm_model_checkpoint/',
                                             target=state,
                                             prefix='lstm_model'
                                            )

loaded_model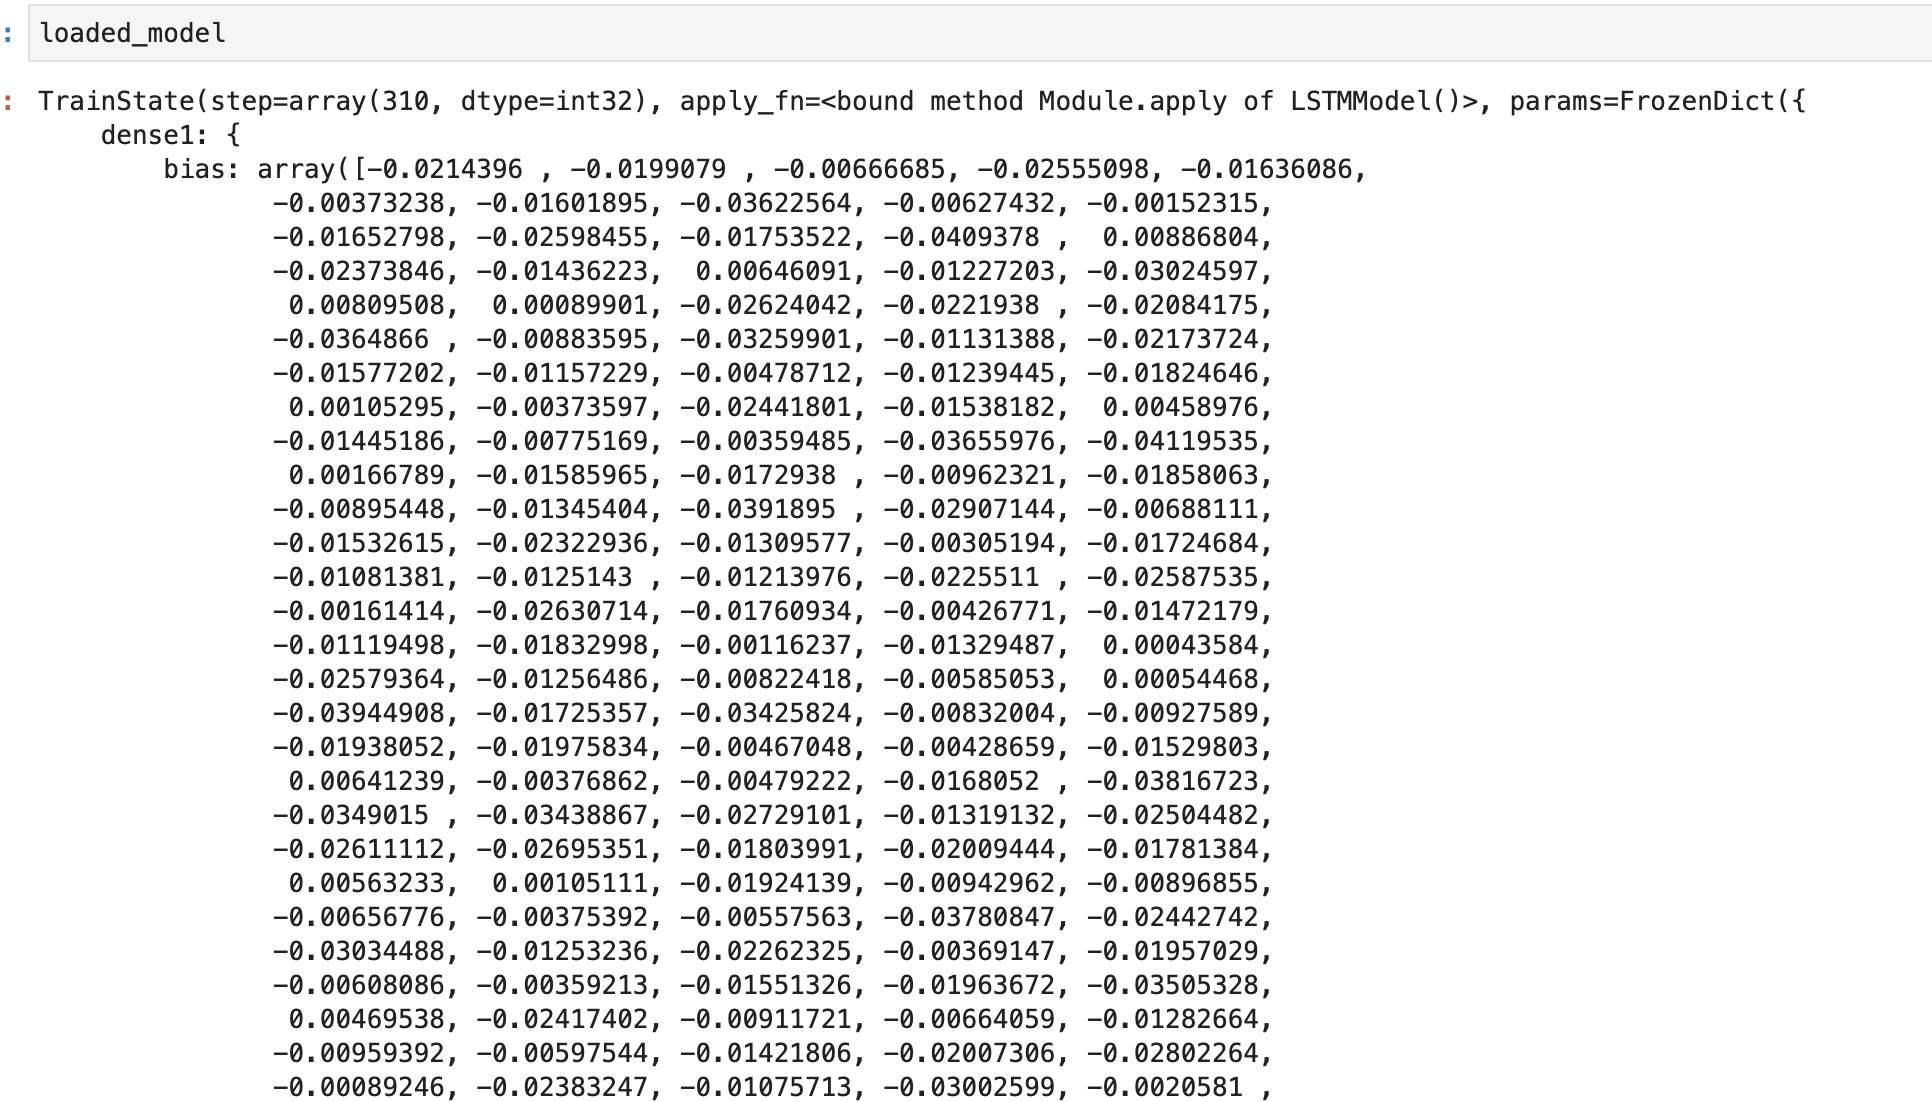
This model can be used to make predictions right away.
Final thoughts
You have learned to solve natural language processing problems with JAX and Flax in this article. In particular, the nuggets you have covered include:
- How to process text data with NLTK.
- Text vectorization with Keras.
- Creating batches of text data with Keras and TensorFlow.
- How to create LSTM models in JAX and Flax.
- How to train and evaluate the LSTM model in Flax.
- Saving and restoring Flax LSTM models.
JAX and Flax resources
- What is JAX?
- Flax vs. TensorFlow
- How to load datasets in JAX using TensorFlow
- Building Convolutional Neural Networks in JAX and Flax
- Distributed training in JAX
- Jax loss functions
- Using TensorBoard in JAX and Flax
- LSTM in JAX & Flax
- Elegy(High-level API for deep learning in JAX & Flax)
Follow us on LinkedIn, Twitter, GitHub, and subscribe to our blog, so you don't miss a new issue.